
1. Request and confirmation
The process starts with the booking request form. You write your car, the coverage you want and your preferred date. The date you pick is a preference, not a confirmed slot.
Our team calls you, settles the price for your car and confirms the day with an installation point near you. The drop-off time and the estimated handover time are also given in this call.
2. Washing and surface preparation
Film shows the surface underneath as it is. So the car is first washed in detail, and tar, iron particles and bonded dirt are cleaned off the paint surface.
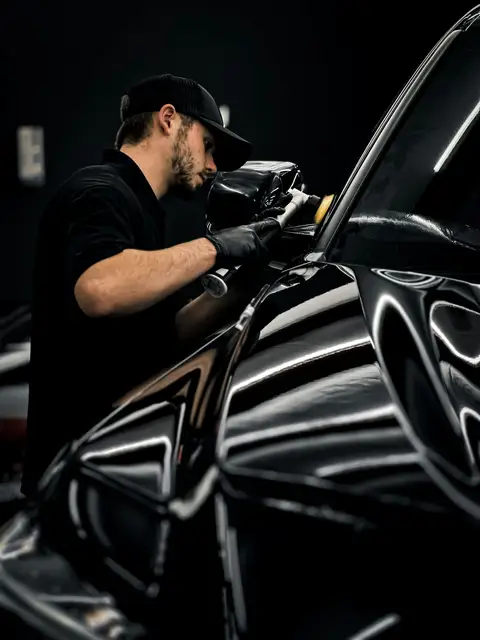
If the paint has noticeable scratches or dull areas, correction is recommended before installation. If this step is skipped, the flaws stay under the film and will still be there after the film is removed.
3. Cutting and installation
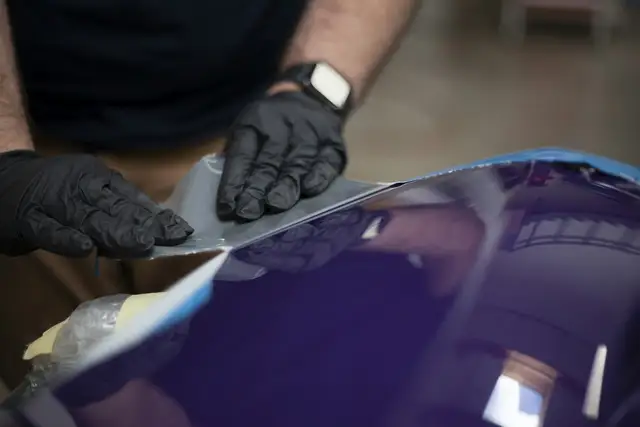
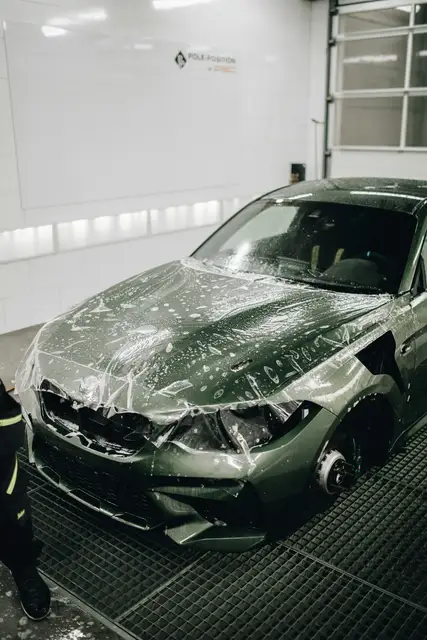
The film is cut to the panels of the car. It is then positioned on the surface with application fluid, and the fluid and air underneath are pushed out with a squeegee. Where possible, the edges are wrapped round to the inside of the panel.
This stage cannot be rushed. Recessed bumpers, mirror housings and sharp lines are the areas that take the most time.
4. Inspection and handover
Once installation is finished, the edges and corners are checked one by one. At handover, walk round the car together in good light: there should be no lifting at the edges and no dust or obvious bubbles on the surface.
Small moisture bubbles are normal in the first days and disappear on their own. Care advice is explained to you at handover. You should not wash the car in the first week.
Questions on this topic
Partial jobs such as the bonnet are usually finished the same day. Full body takes a few days, depending on the size of the car.
Ozon PPF is applied at partner installation points. You are told which point to go to when your booking is confirmed.